Behind the Dryer: What to Check
Transition Duct Materials
- Rigid or semi-rigid heavy metal only
- (NO plastic or foil accordion-style)
- UL-listed for dryer use
- Transition no more than 8 feet.
Connection Method
- No screws (they trap lint)
- Foil-backed metal tape (UL 181) used to seal joints
- Secure with hose clamps or approved connectors
Airflow Direction
- Transition duct should not kink or crush
- Male ends of duct point in the direction of airflow
- Do not use screws or screens in ducts or vents
In-Wall or Ceiling Exhaust Duct
Construction Material
- Rigid galvanized steel or aluminum (28-gauge minimum)
- Absolutely no PVC or plastic
Route and Length
- Transition should be no more 8 feet
- As short and straight as possible
- Minimal turns for better airflow
- Add clean-out access for long or hidden runs
Outdoor Vent Damper (Exterior)
- Has a backdraft damper
- NO screens
- No bird nest or bee hives
- Minimum 12” above ground
- Points downward to prevent water/rain entry
DO NOT USE
❌ No duct screws
❌ No plastic, vinyl, or foil ducts
❌ No shared exhaust systems
❌ No concealed flexible ducts in walls or ceilings
❌ Do not use duct tape (it degrades with heat)
Safety for Condos, Apartments, Townhouses
If the dryer is far from an exterior wall, ensure:
- Clean-out transition duct behind dryer
- Do not use screws
- Used only metal foil heat tape
- Have a smoke detector and a fire extinguisher readily available
- Check for carbon monoxide detectors if a gas dryer is used
Maintenance & Inspection
- Clean the dryer vent system at least once a year
- If using a booster fan, inspect every 6 months
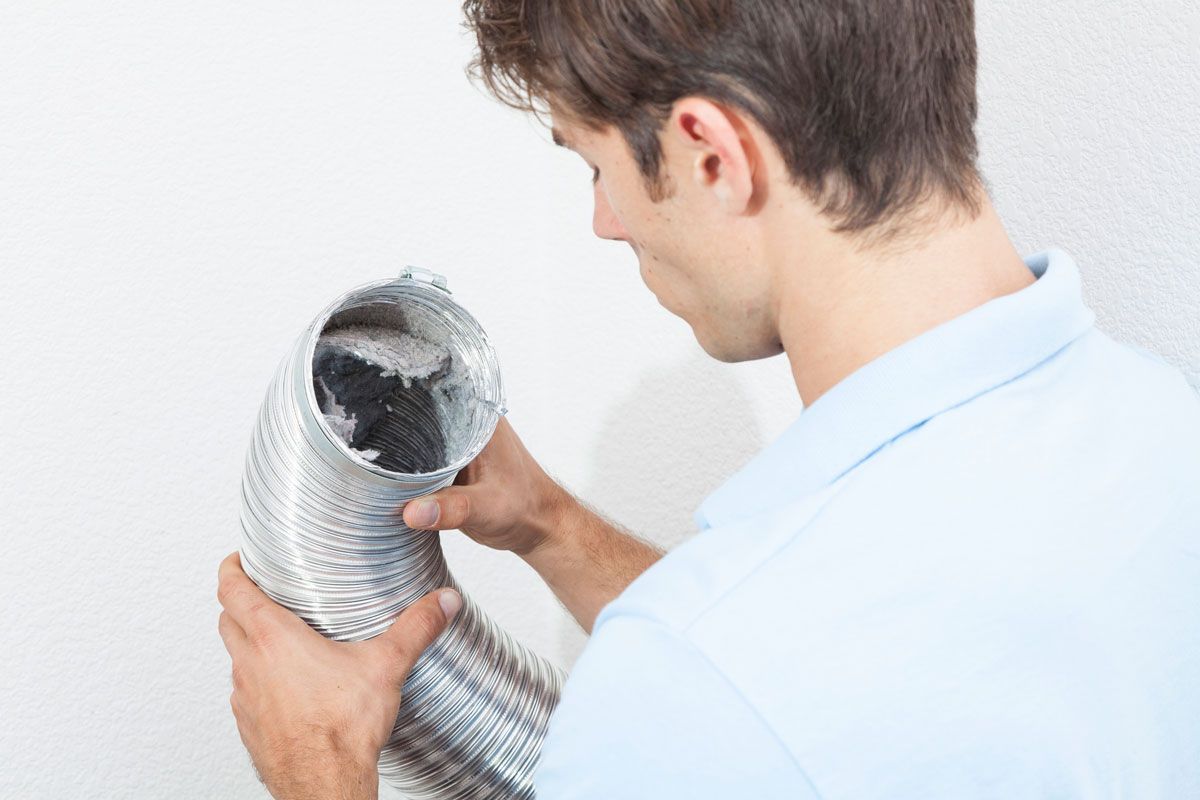
- Check the interior of transition duct for lint buildup
- Have system inspected after renovations or new appliance installs